
Build Better Leatherwork From The Material Up
Read The Leather
Compare grain, thickness, temper, and stretch before choosing leather for a simple practice piece.
Cut With Control
Use templates, a straightedge, and scrap tests to practice cleaner straight and curved knife cuts.
Join With Precision
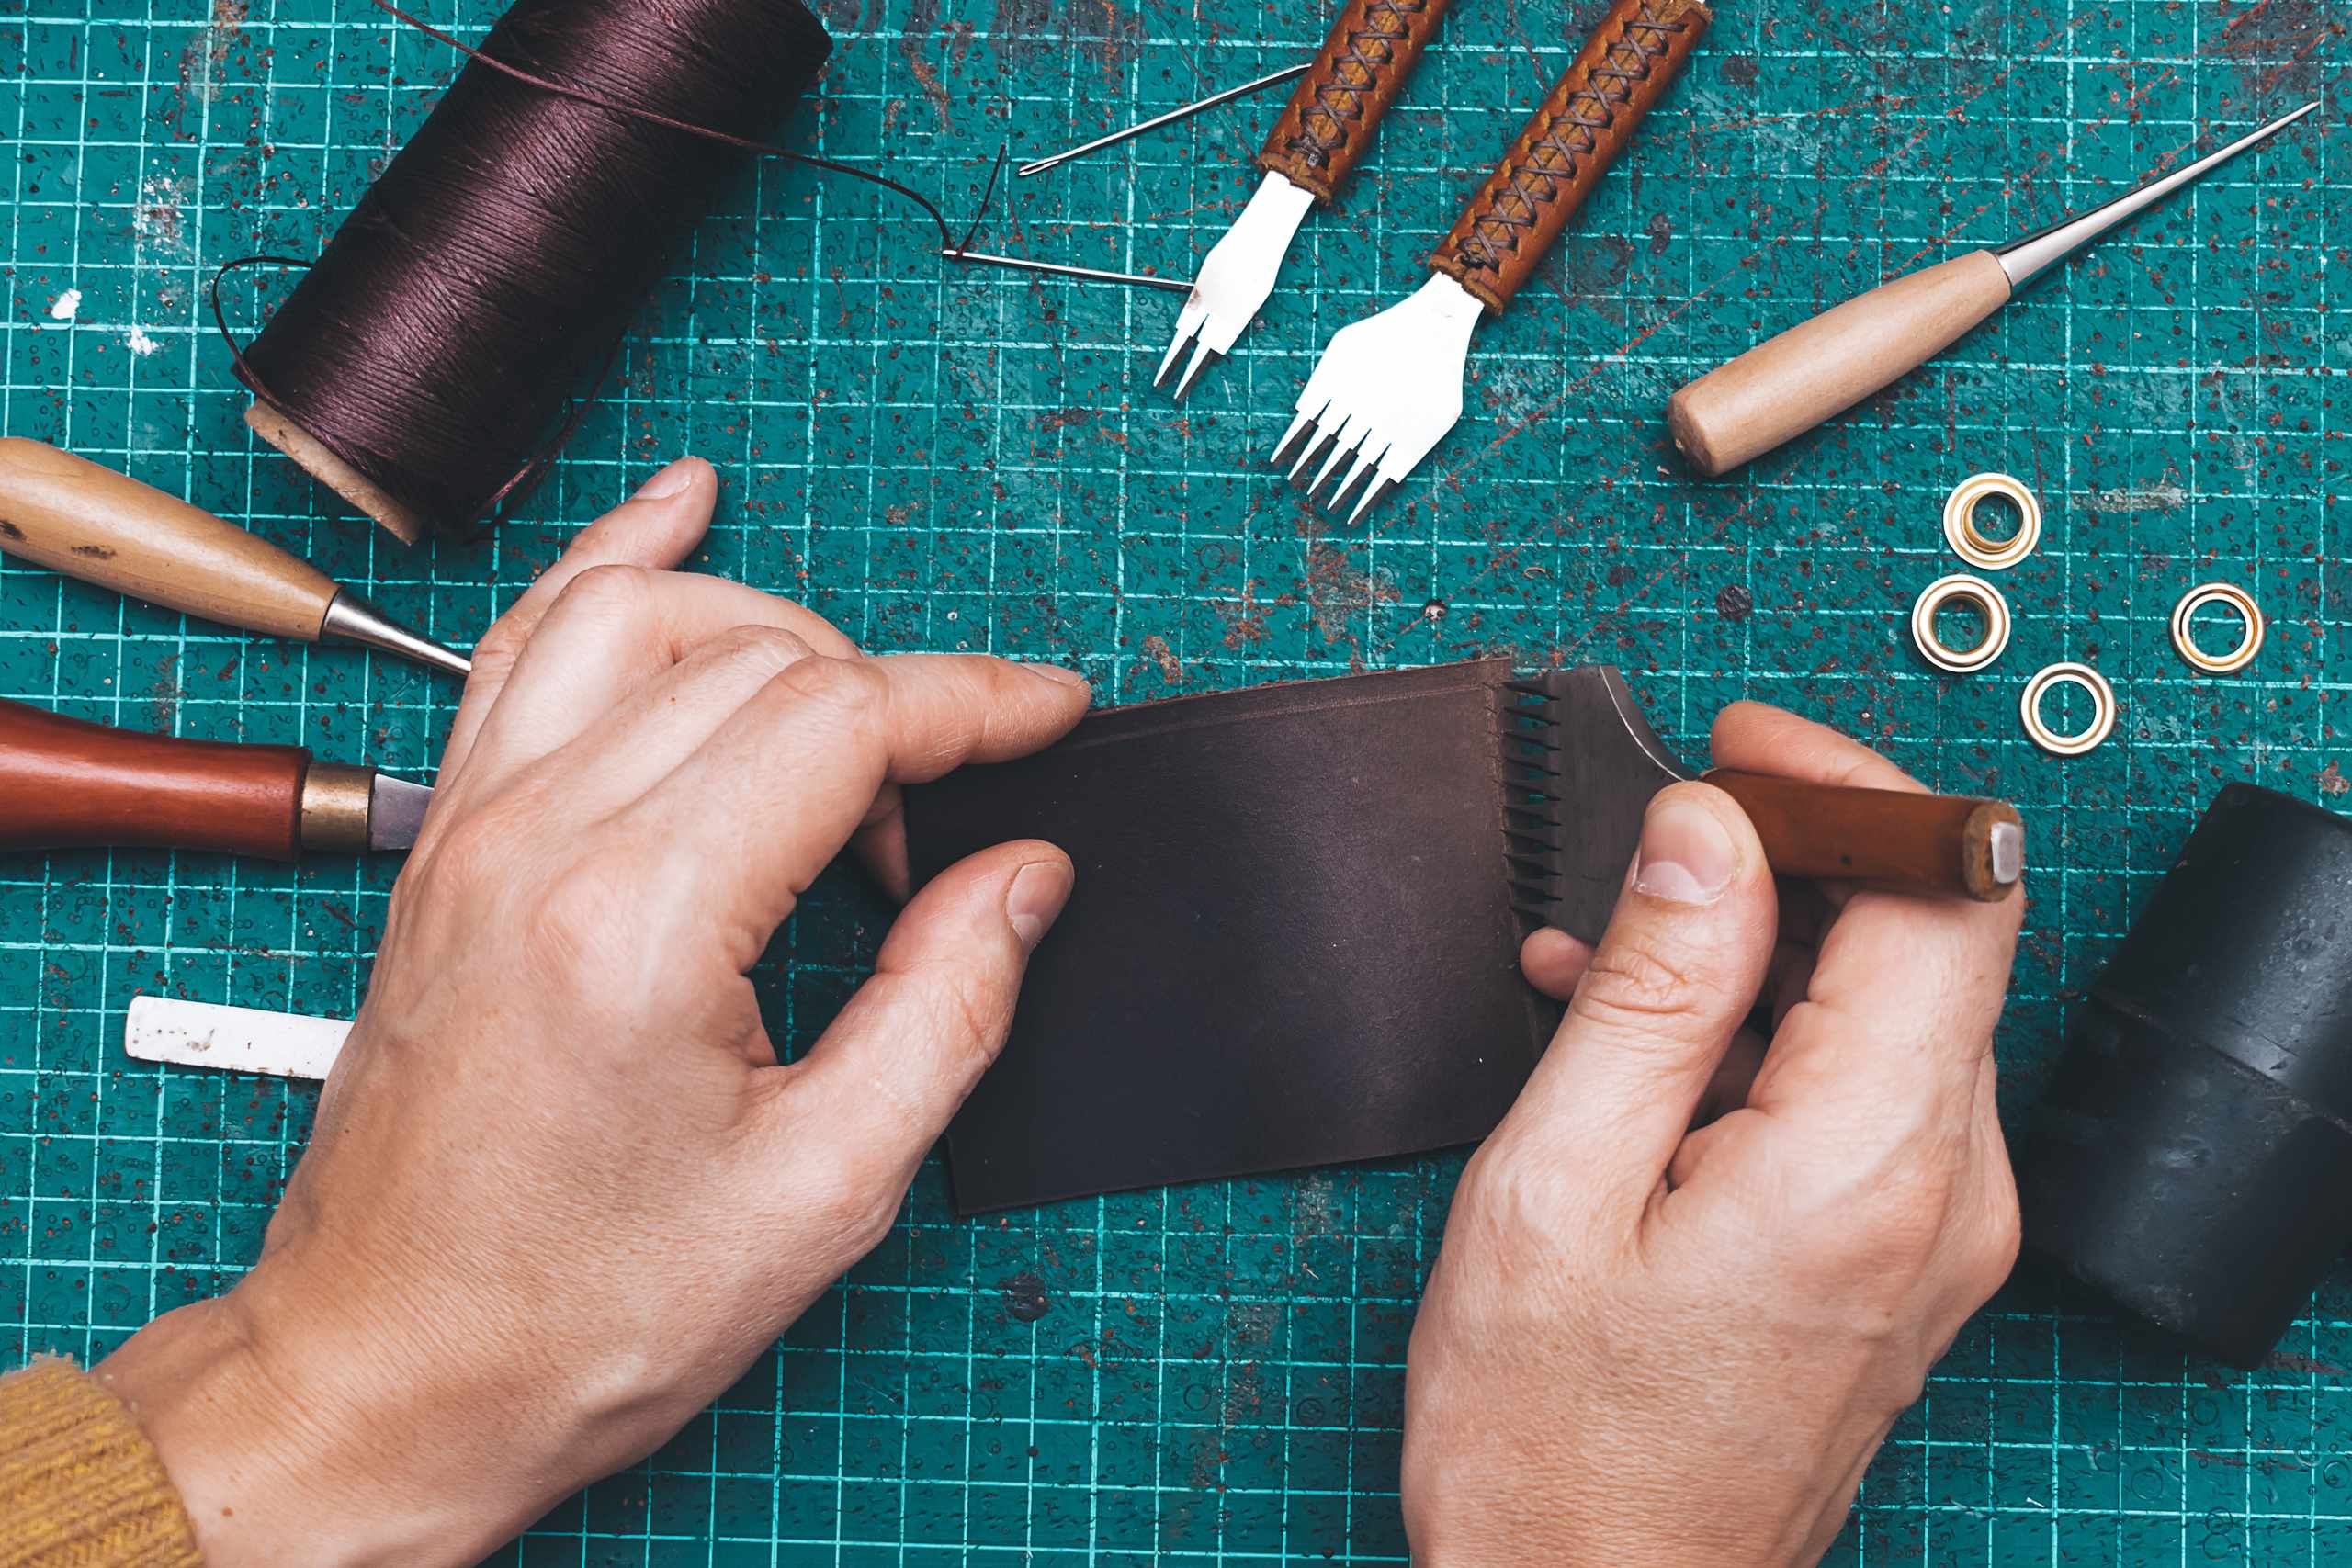
Mark stitch lines, space holes evenly, and control saddle-stitch tension while keeping leather layers aligned.
From Offcut To Finished Sample
Why a Leather Knife Drifts Off the Line and How to Practice Cleaner Cuts
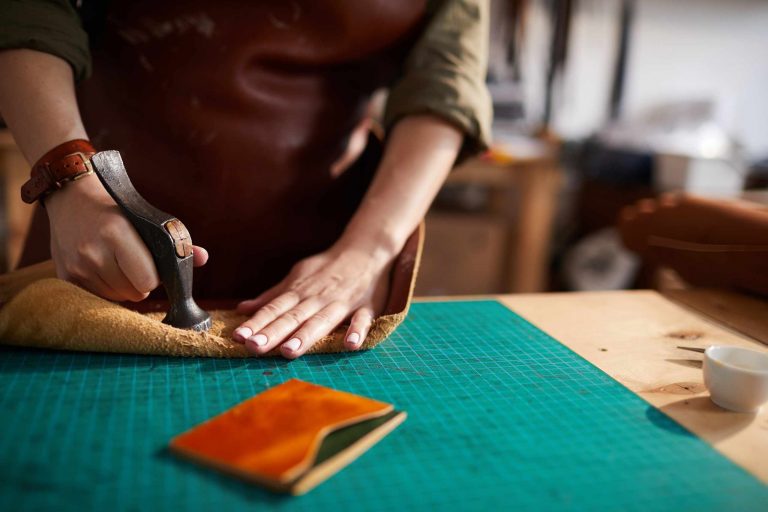
Even if you mark a perfect cutting line, the cut might still have a wavy…
How to move a leather pattern without introducing errors
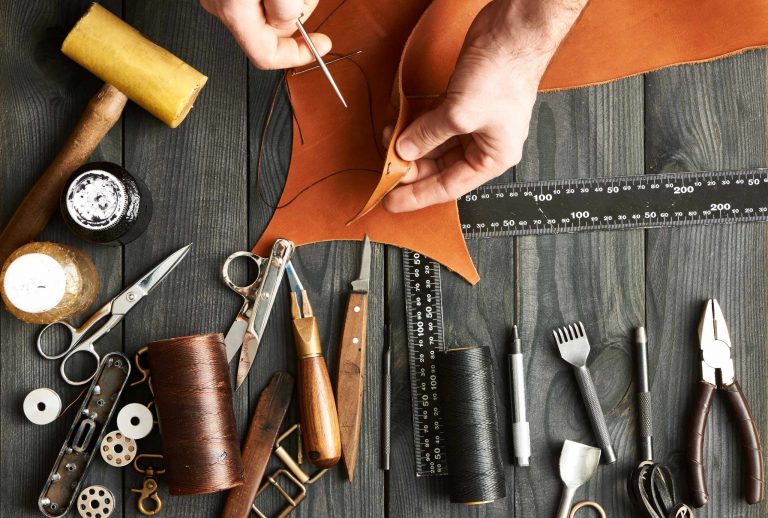
When transferring a leather pattern, it is easy to assume it will be exact. But…
Leather Grain Side, Flesh Side and Stretch: What to Check Before Cutting
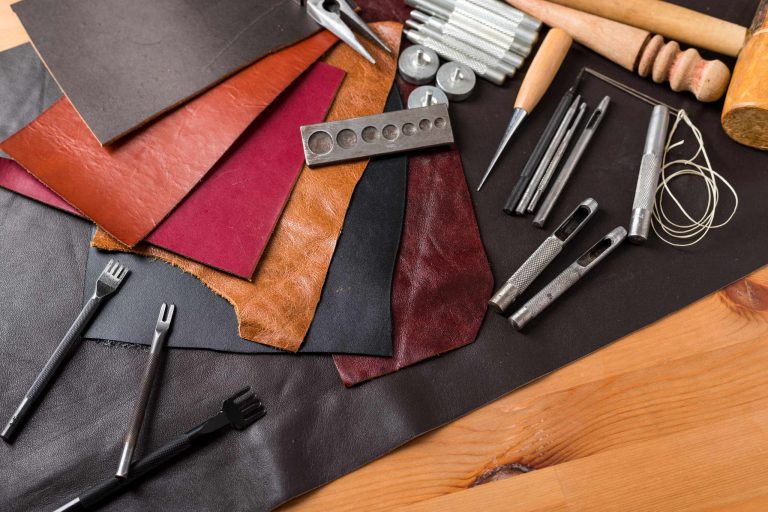
Take a moment to study your leather before committing to your cut. Put your leather…

Small Checks Made The Process Clearer
Working on scrap leather helped me notice why my cuts wandered and my stitch spacing looked uneven. Checking the grain, marking carefully, and dry fitting each piece made the process much easier to follow.

Naoki Katagiri
Prepare The Edges
Trim, bevel, sand, and finish short leather edges in sequence. Comparing several samples makes uneven shaping easier to spot before burnishing hides the source of the problem.
Test Before Assembly
Dry-fit layers and test adhesive, rivets, or snaps on offcuts first. Small trials reveal alignment, pressure, and placement issues before they affect the final leather component.
Practice Careful Skiving
Remove thickness gradually on scrap leather and inspect the surface after each pass. This helps prevent thin spots, torn fibers, and folds weakened by taking away too much material.
Check The Finished Sample
Look closely at edge alignment, stitch rhythm, surface marks, and symmetry. These visible checks show which earlier step needs another attempt before moving to a more complex piece.