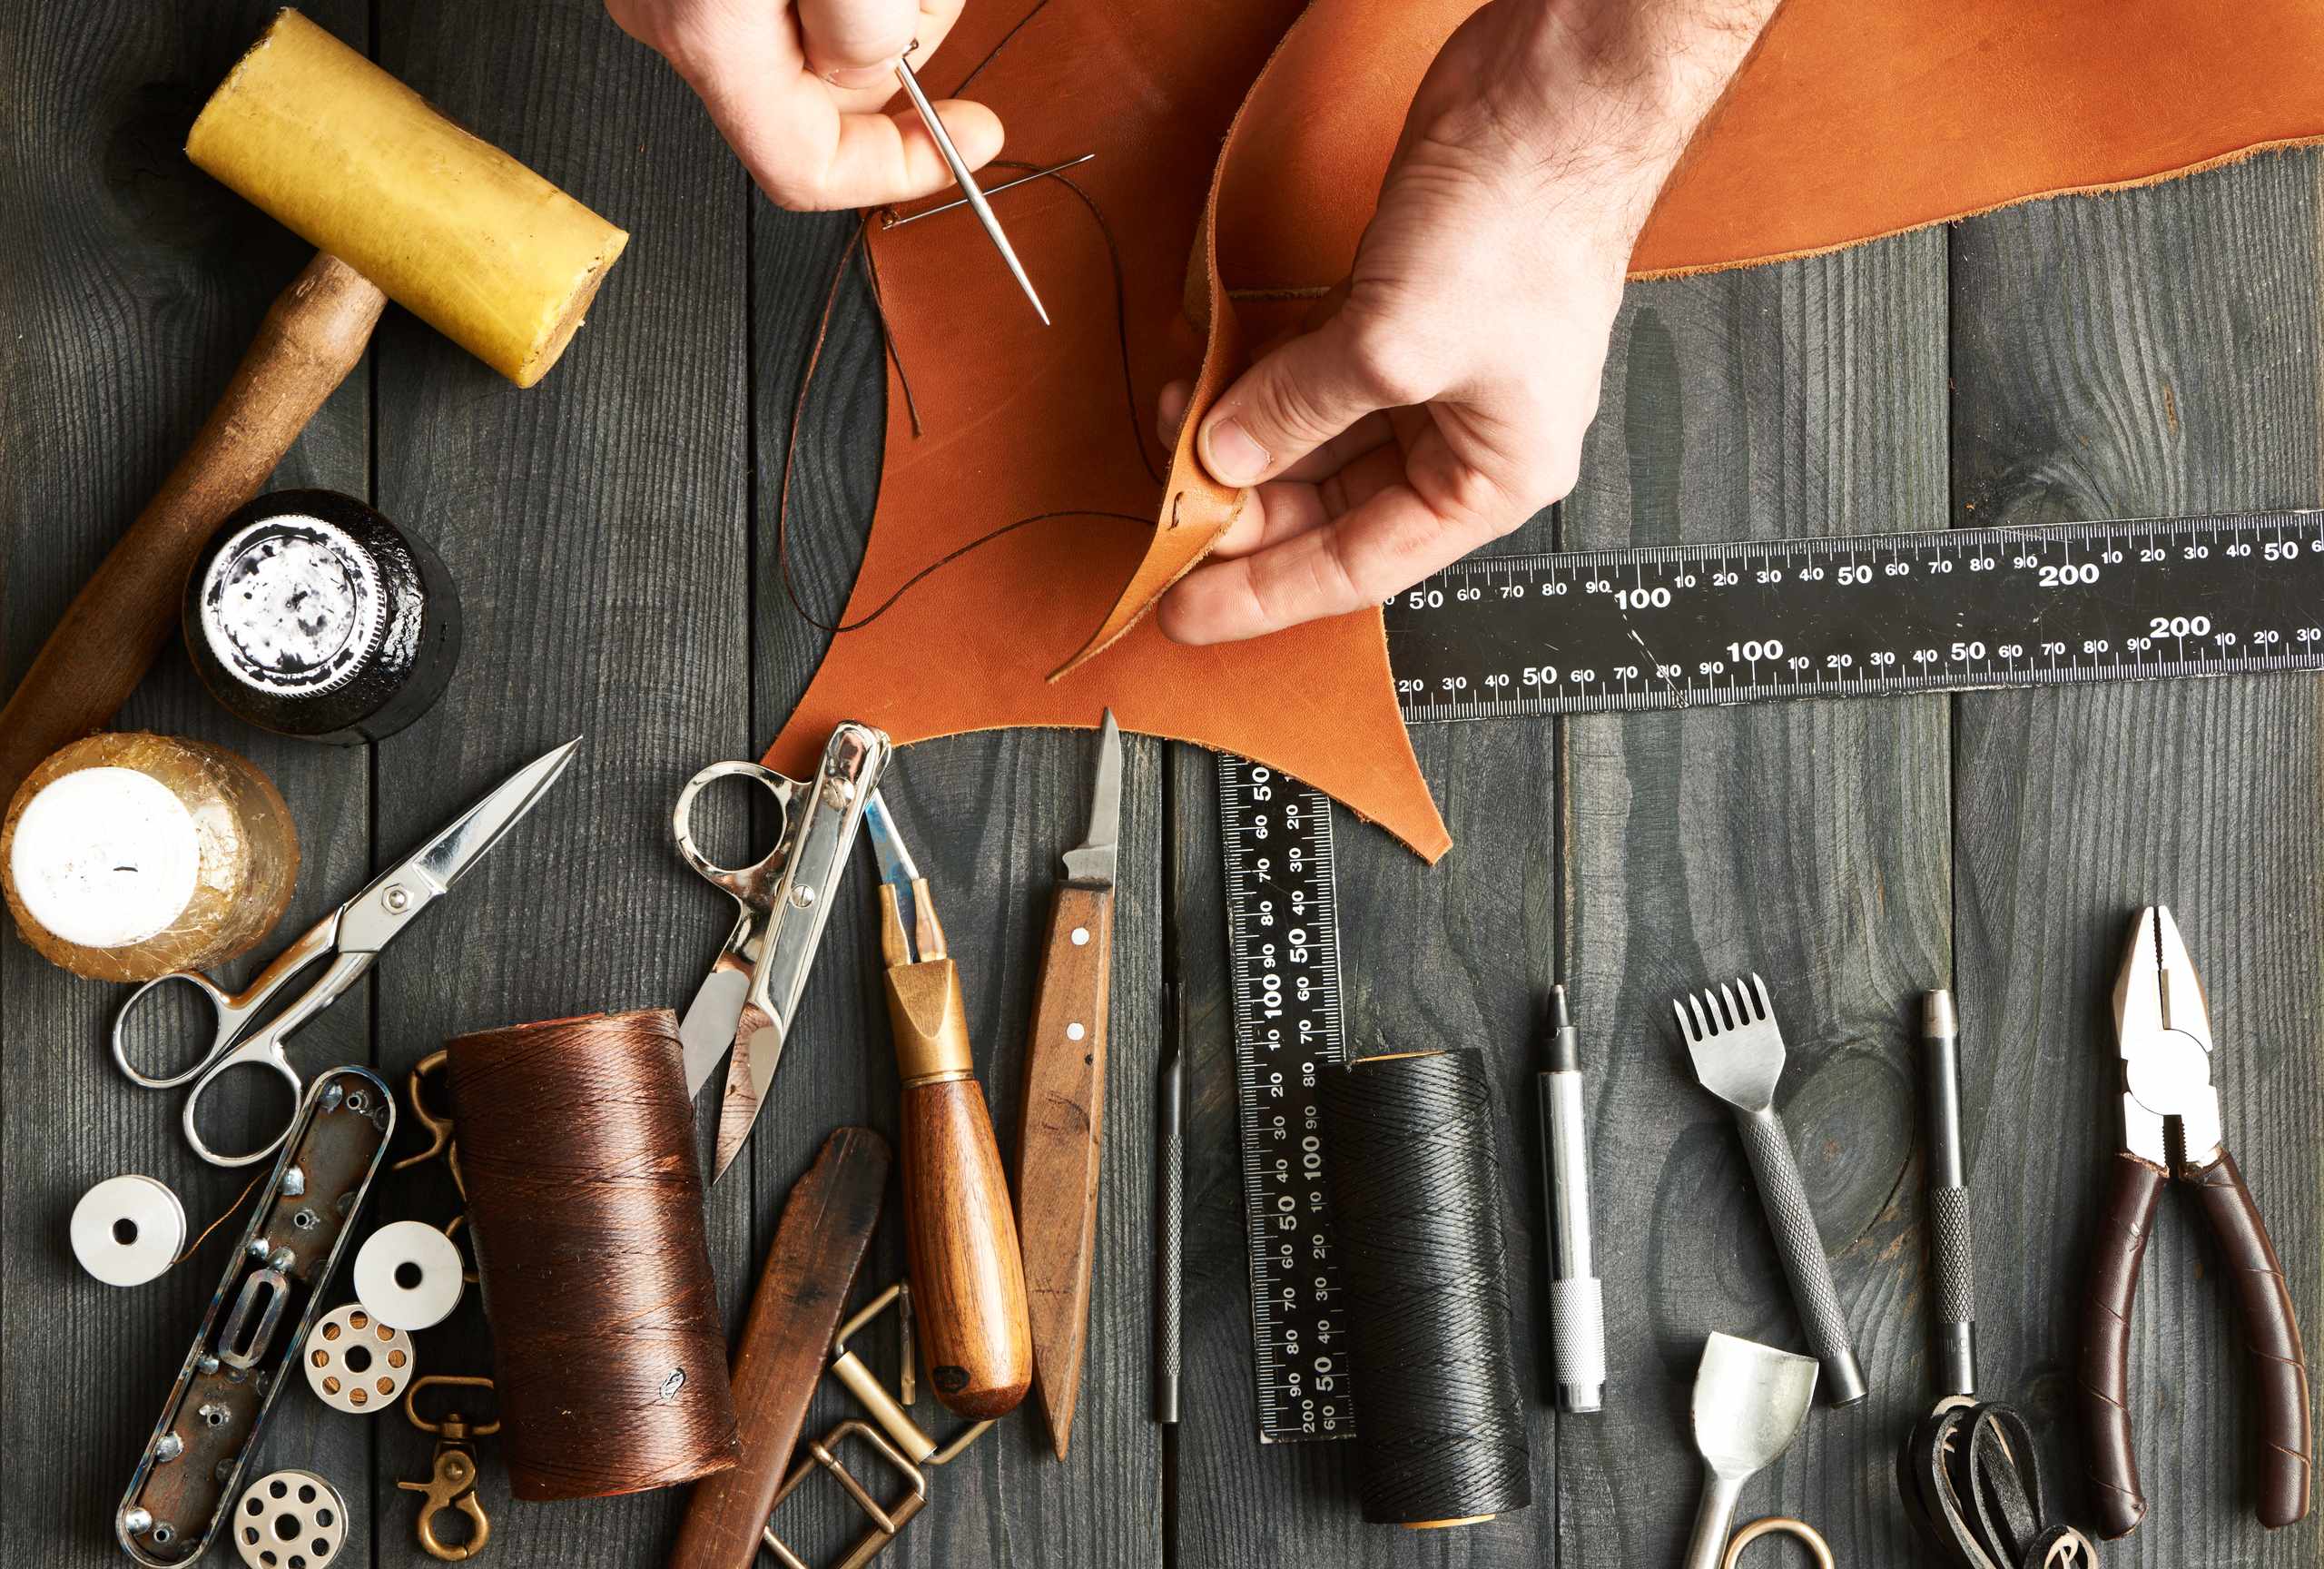
When transferring a leather pattern, it is easy to assume it will be exact. But when you cut two pieces out that are supposed to be identical, and you discover they don’t fit together, it can seem as though there’s no way to make them match up. Even with a paper or card pattern, the transferred shape can vary depending on whether the template moves, whether the leather stretches or distorts, or whether you use a sharp or angled tool. Since your cutting line follows the transferred pattern, any inaccuracies in this step can affect the edge, stitch, or assembly later.
Select a flat area of leather and examine the grain side before laying down the template. Avoid the most stretchy parts of the leather, or areas with deep scarring or other obvious distortions, especially if you require a clean, reproducible shape. Place the template so that it rests comfortably on the leather without distorting it. If you’re cutting a pair of matching parts, make sure that both are oriented in the same direction, so that differences in grain direction or stretchability aren’t greater than they need to be.
While you trace the template, apply pressure to it to keep it from moving, but not so much pressure that it begins to distort the leather. Use a fine marking tool appropriate for leather, and hold it as close to the template as possible. Holding it at an angle away from the template can make your traced shape slightly bigger than the original template. For a small part, even a narrow gap like this can be significant when you bring the pieces together for a dry-fit.
To practice, take a small rectangular or curved template and draw it three times on a scrap of leather. Between each tracing, remove the template entirely before placing it over the new shape; don’t just draw around the existing template. Put the template over all three shapes and check the edges for alignment. Examine the corners, and then the long straight edges and curves. If there is a section where the template is noticeably wider or narrower each time, try to pay attention to how your hand moves around that section on the next pass.
Don’t rush into cutting right after you trace a template. Check the shape of the leather before you cut it. Check to see that the corners come together neatly, that the curves flow smoothly, and that the line follows the template precisely, without any gaps or jumps. If you see an obvious mistake, you can correct it before you pick up the knife. Trying to steer the knife around a bad line will force you to decide the shape of the cut as you cut, and you won’t get a good result.
Try the same test on a pair of matching parts. Trace and cut two copies, and put them together without glue to see if they line up. If the edges don’t align in one spot, try to work backwards to determine whether it’s an issue with pattern placement, tracing, stretching, or cutting. Don’t immediately start grinding the edges until they match, because you’ve obscured the step where the error was introduced. It’s far more helpful to understand why the pieces didn’t match than to end up with a fake-looking match.
Eventually, you’ll be able to move a leather template and get a precise result. You’ll be able to hold the template in place easily, leave the leather alone, and have your cut follow the shape of the template exactly, without having to make any adjustments. Once you’ve marked your leather, you can put the template back over the shape you made. If it fits perfectly, you know that you can move forward confidently to your next step, whether that’s marking out stitch holes or preparing edges.