Even if you mark a perfect cutting line, the cut might still have a wavy edge. It might start right on the line but then, half-way through, the knife starts to slide off the line. It was cutting along the line, you apply pressure and it gradually slides away. On leather, it is easy to see how a slight change in the angle of the knife can lead to a significant deviation of the cut line. This is especially true along a straight line that will later be sewn or glued to another piece.
Often, one reason why the knife might drift away from the line is because you’re trying to cut all the way through the leather in one go. The leather is firm enough, particularly if it’s a vegetable-tanned leather, that it will pull your hand off line. Rather than applying more pressure, try making several passes along the same line. Make sure the knife is held vertically, let the sharpness of the knife do the cutting and don’t twist your wrist. Often, the second or third pass will be much easier to control than the first.
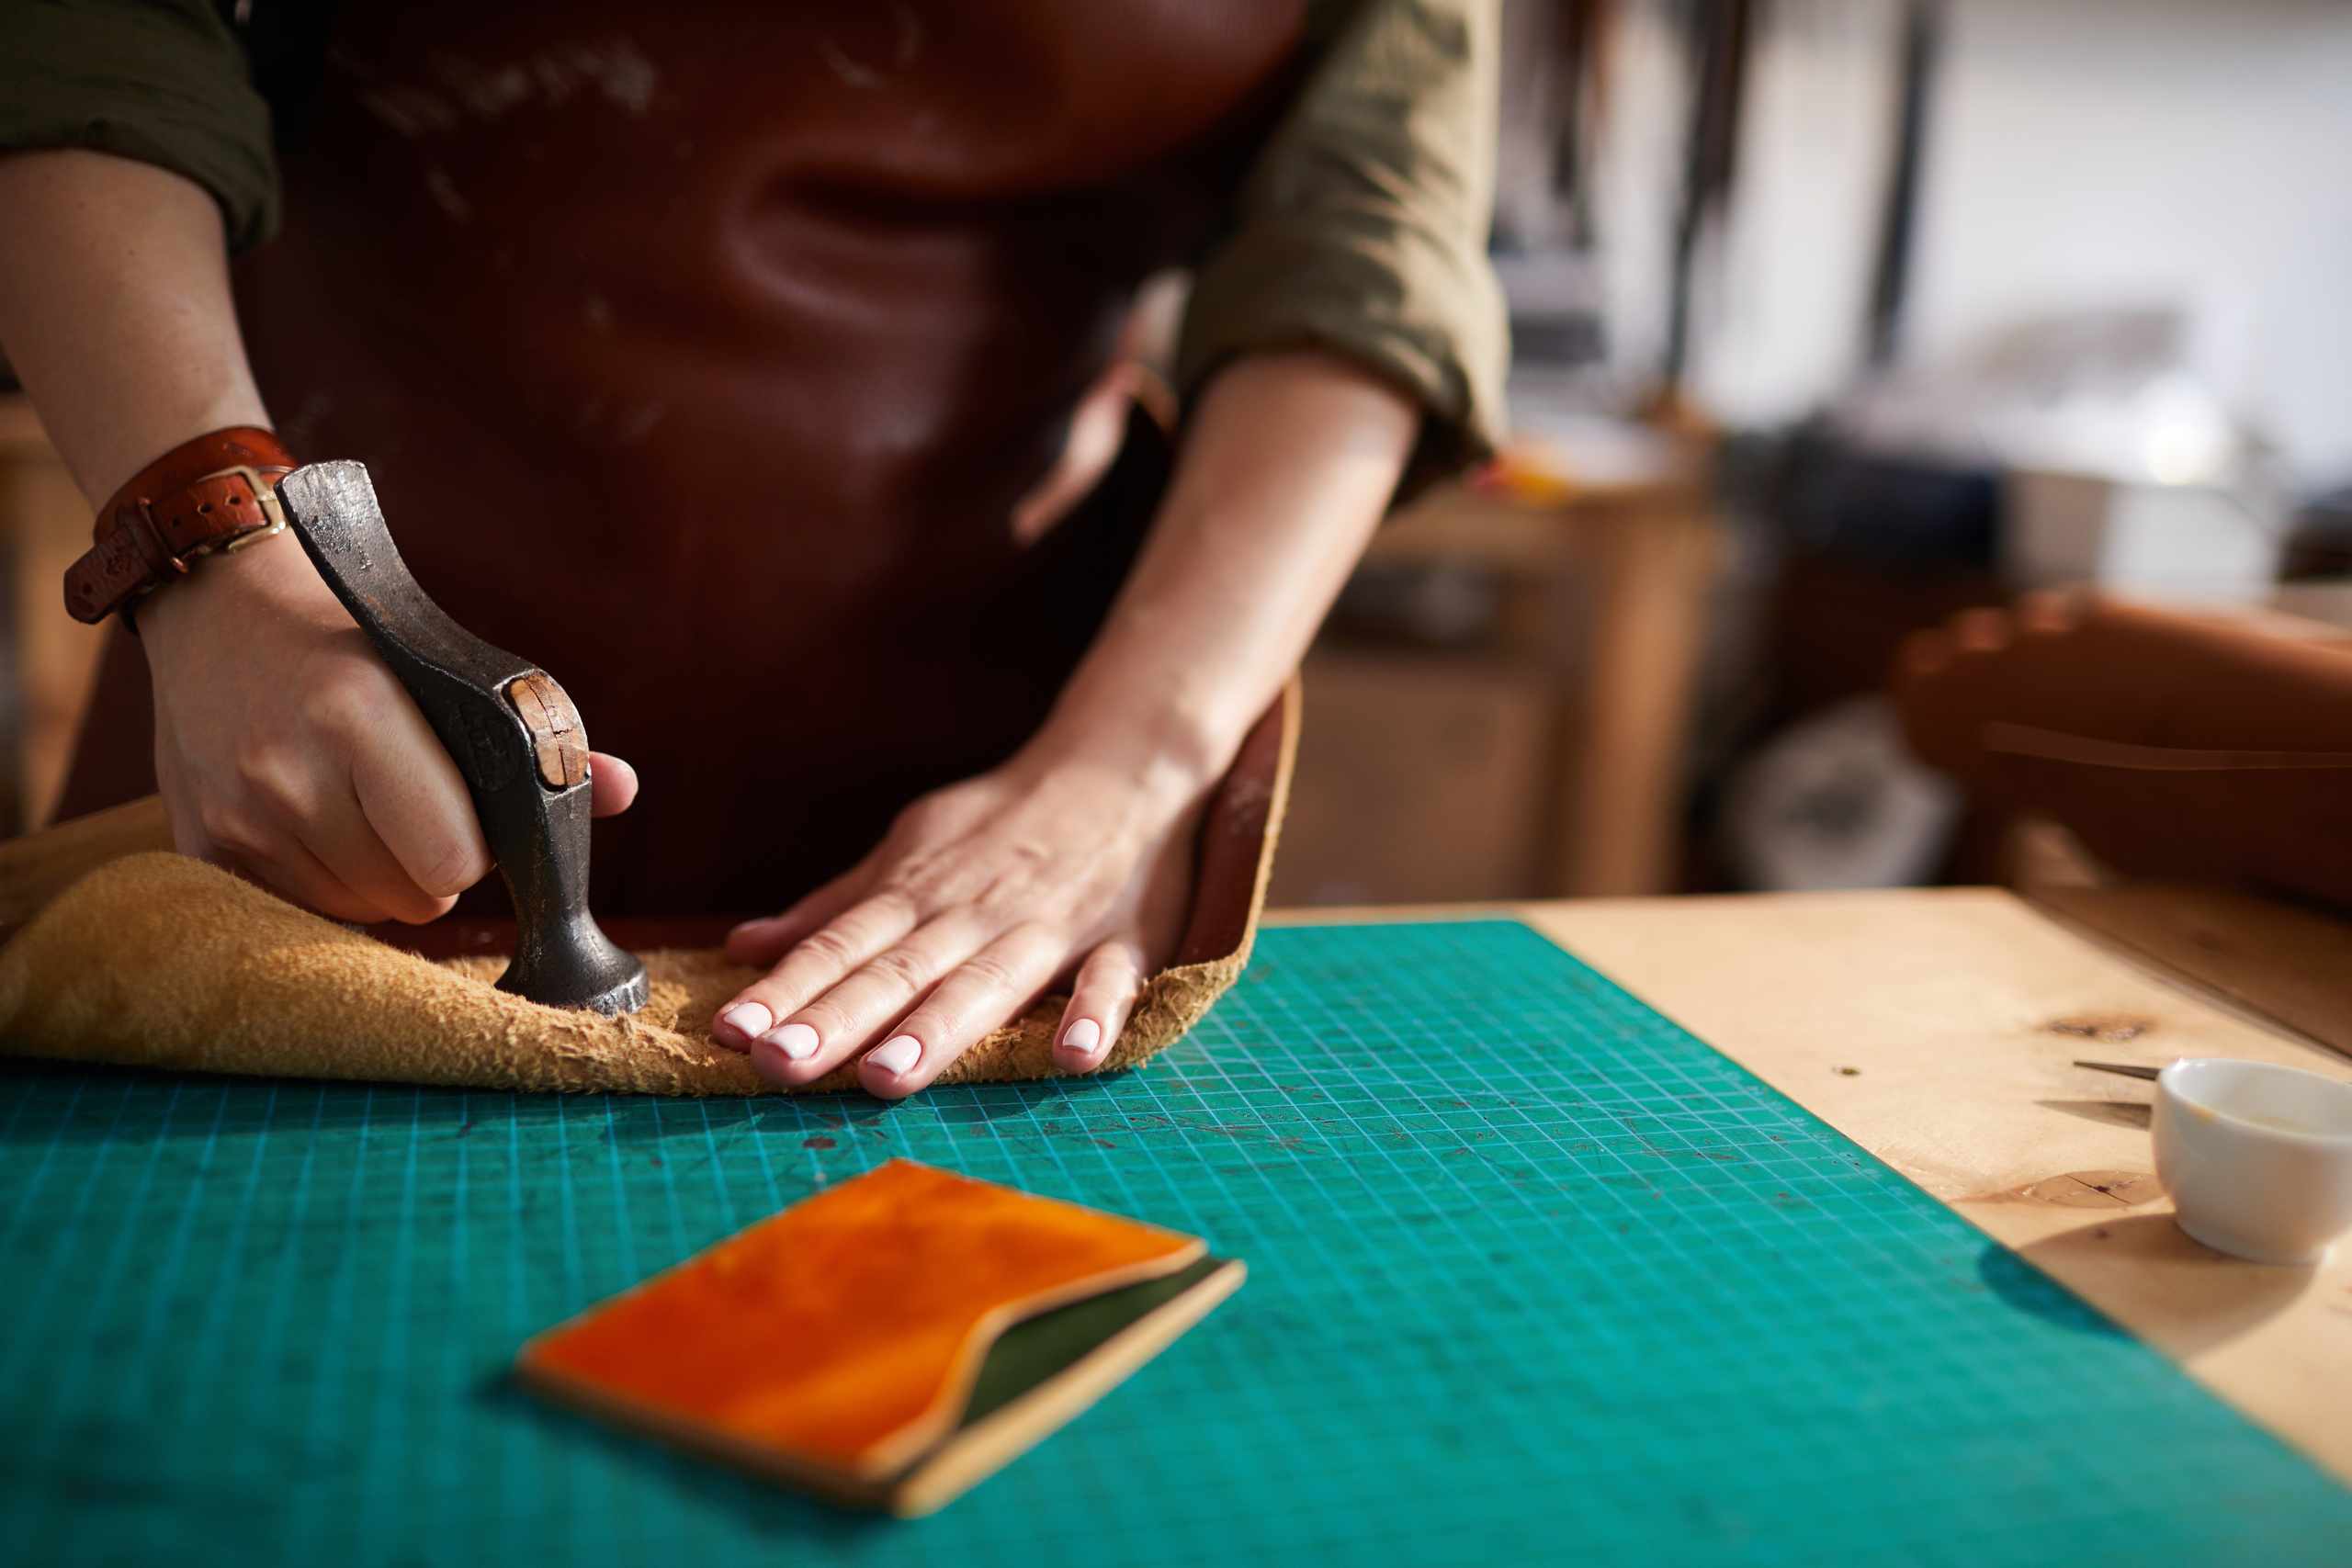
Another issue is the straightedge used for marking out your cutting line. If the straightedge moves while you are cutting, the line you are following will change. Place the leather on the cutting mat, make sure the metal straightedge is well positioned and then, with your non-cutting hand well clear of the cutting edge, carefully follow the edge of the straightedge with your knife. Don’t push the knife off to the side as you cut. For curves, get rid of the straightedge and cut shorter segments rather than trying to cut the entire curve in one continuous movement.
This is a good time to use some scrap leather since you’re just concentrating on the knife skills. Mark several parallel lines on a scrap piece of leather and cut them all at a comfortable pace. On the first line, note how the knife feels when you are starting the cut. On the second line, note how your wrist is positioned. Then look at the cut line and compare it to the original marking. Do the cuts drift to one side consistently? If so, it could be a problem with the angle of your hand or the amount of pressure being applied to the knife.
The condition of the knife is important too. Using a dull leather knife or utility knife means you need to use more pressure and this can easily lead to you drifting off the line. If you find yourself pressing too hard or sawing back and forth through the leather, check the blade before assuming that your technique is the problem. Similarly, the nature of the leather could affect the cut. If the leather is soft or stretchy, it might move under the pressure of the knife, whereas if it’s thick and firm, it might resist a deep cut. Hold the leather firmly in position and vary the number of passes rather than using the same approach on every hide.
For curves, you could be turning the knife too sharply while the blade is already embedded in the leather. This can give a jagged cut or the cut could move outside the pattern. Use shorter segments and adjust the position of the leather as needed to keep your hand in a comfortable position. Build up the curve from a series of shorter cuts and don’t try to complete the whole curve in one go. Once the curve has been cut, inspect the edge before you begin sanding or burnishing. The process of edge finishing will smooth out the surface of the edge but it won’t be able to completely correct any problems with the shape of the edge.
To check whether your cutting line is accurate, simply compare the cut line against the template or straightedge you marked it against. See if there’s a gap between the cut edge and the marking. See how far the knife drifted off the line. On the next scrap piece, slow down when you are cutting a similar type of section and press less, don’t grip harder. Better cutting is achieved by allowing the knife to move freely along the cutting line with less pressure, smaller adjustments and a more steady hand.